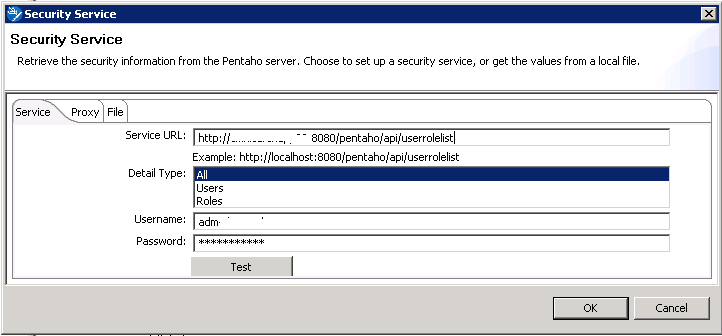
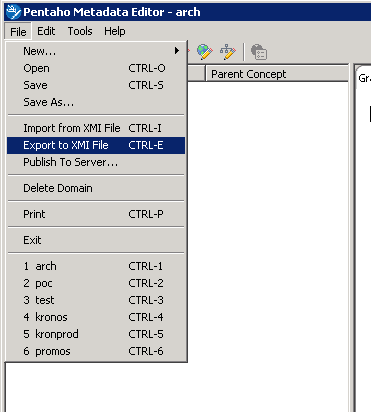
After starting the Pentaho Metadata Editor (MDE), the first thing we should do is configure the model to fetch security information from Active Directory (AD). This of course assumes that you have configured the Pentaho Server to fetch users from AD. If so, follow the menu path shown below. Enter your service URL, needing only to change the hostname where your Pentaho server is located.
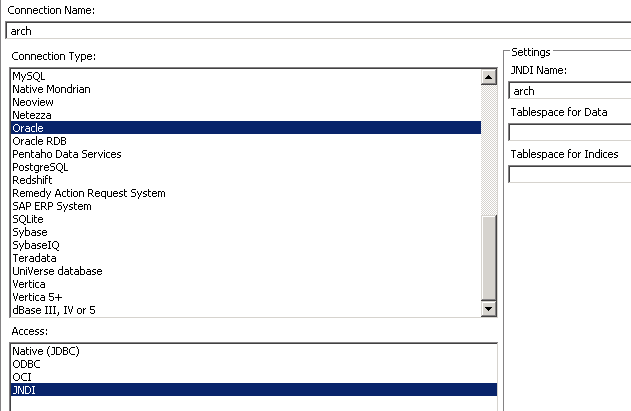
Once you have done this, right click the Connections tree node and click New Connection. In the example below, we use a JNDI entry for our data source. This is highly recommended, as it allows you to test against a locally configured data source such as development, and use the exact same configuration in production when pointed to a production data source. The local data source can be configured in USER_HOME/.pentaho/simple-jndi/default.properties, with an example entry below…
arch/type=javax.sql.DataSource
arch/driver=oracle.jdbc.driver.OracleDriver
arch/user=scott
arch/password=tiger
arch/url=jdbc:oracle:thin:@dbhost:1521/dbname.domain
I you had to add what is above, restart the MDE, then add the connection by right clicking Connections and clicking Add Connection, as suggested above. You can then enter the values below, changing to suit your environment.
Right click your newly added connection uder the Connections tree node, and select Import Tables From Explorer. Select tables as applicable.
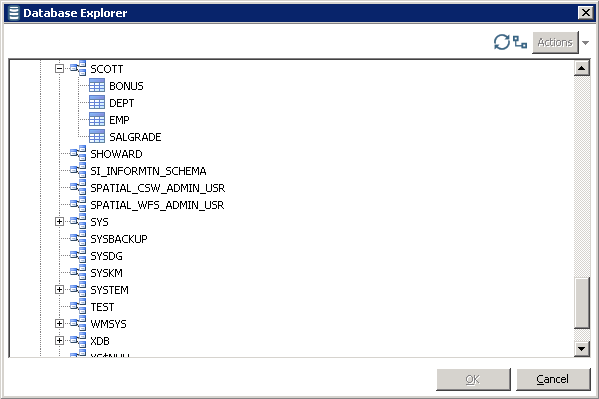
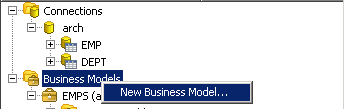
In our case, we selected EMP and DEPT. Select Business Models/New Business Model, and create it changing the name to EMPS.
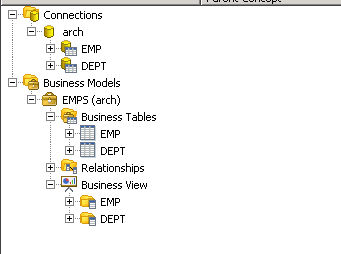
Drag and drop the tables under the Connections link to the Business Tables tree node. Drag and drop the newly created Business Tables to the Business View tree node.
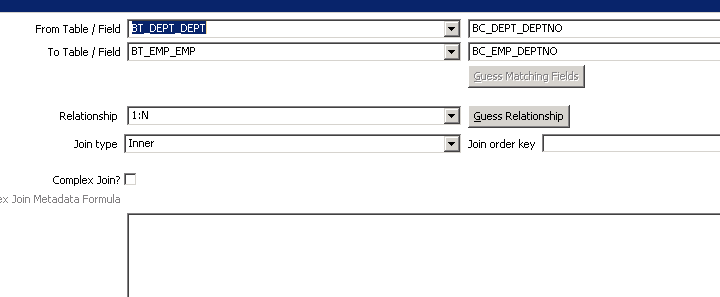
Click the CTRL key and holding it down while click both the EMP and DEPT tables. Right click and select Add Relationship, with the values shown below.
The Graphical View should now look like what is below.

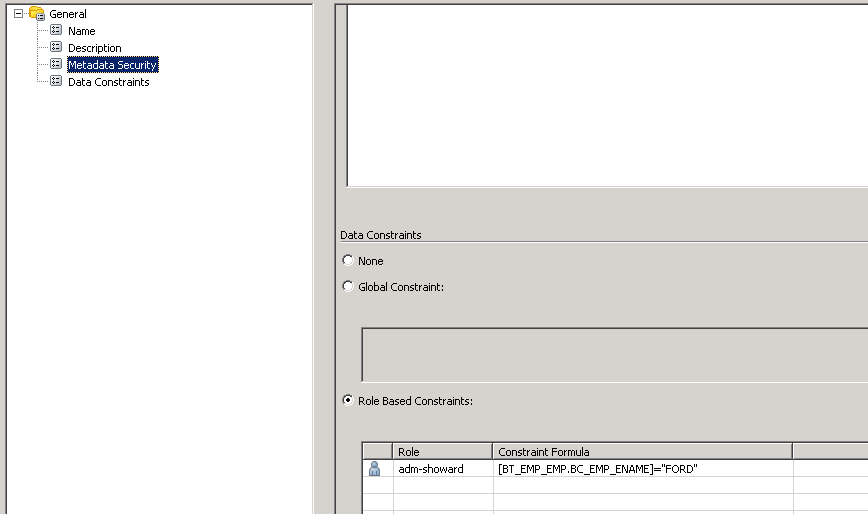
We can now moving on to enabling row level security. Double CLick EMPS under the Business Models tree node and select Metadata Security, as shown below. Under Role Based Constraints, click the + button and select a user to whom you wish to apply row level security. Add the condition with the format [BUSINESS_TABLE_NAME.COLUMN_ID]=value.
We then publish the model to our Pentaho server…
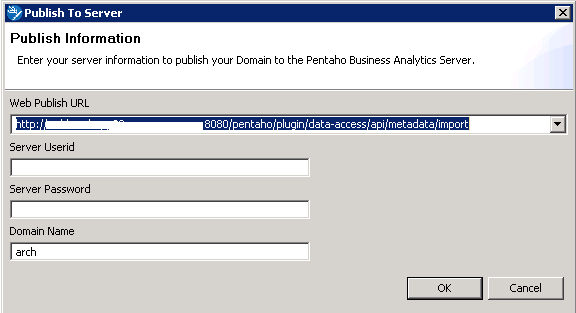
…and also save the model to a local file. We will use this in the subsequent report build in Pentaho Report Designer.
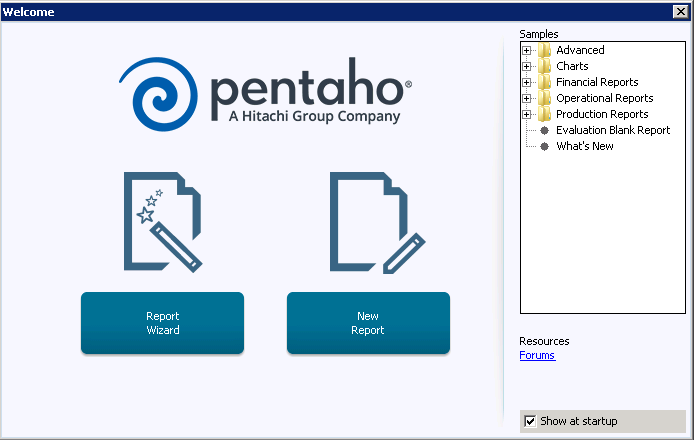
Start the Pentaho Report Designer (PRD) and select Report Wizard.
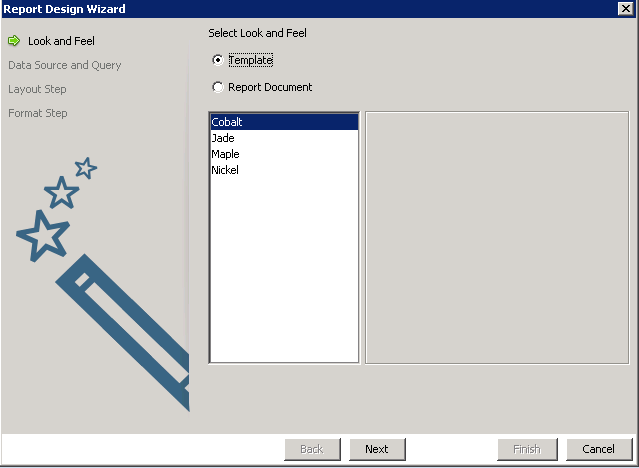
Select a template.
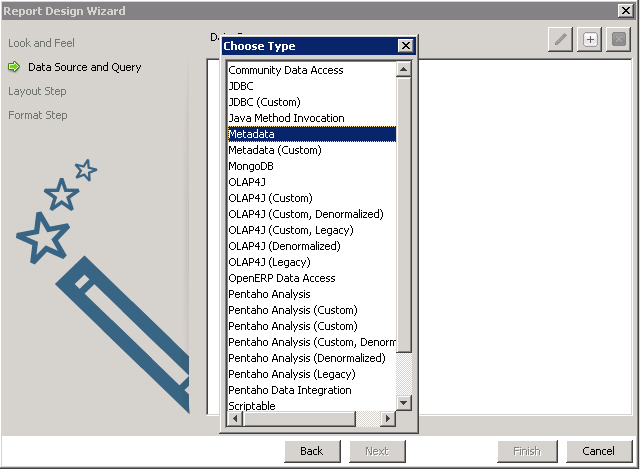
Click the + button and select Metadata for the datasource type.
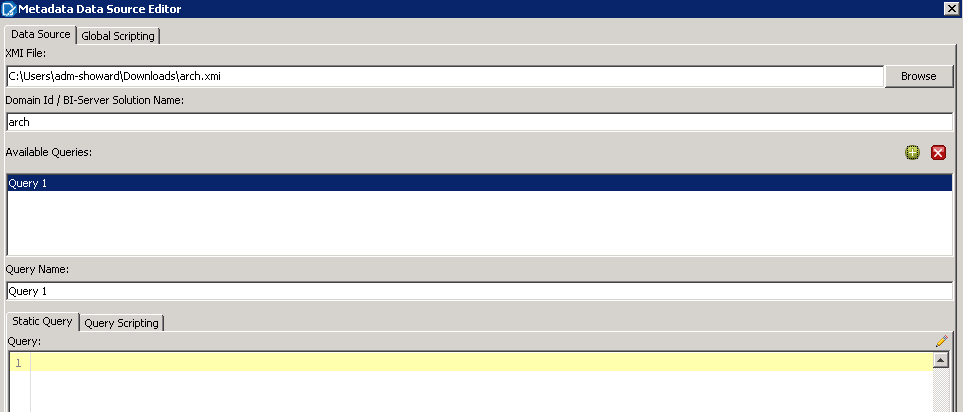
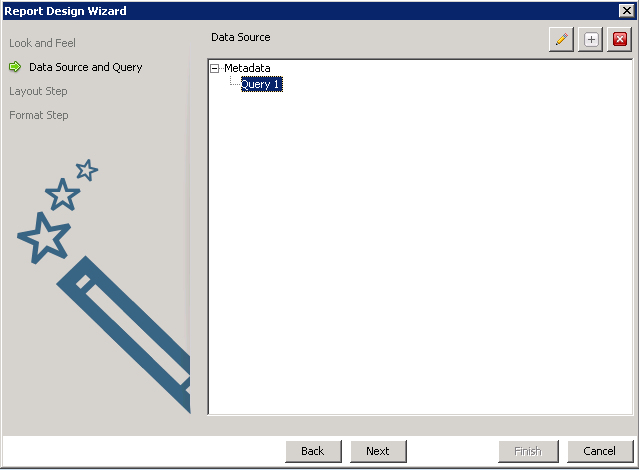
Browse for the location in which you saved the MDE model described above. Type your name domain you used when you created the model. Click the + button to create a query, select it, then click the pencil icon on the right hand side of the window.
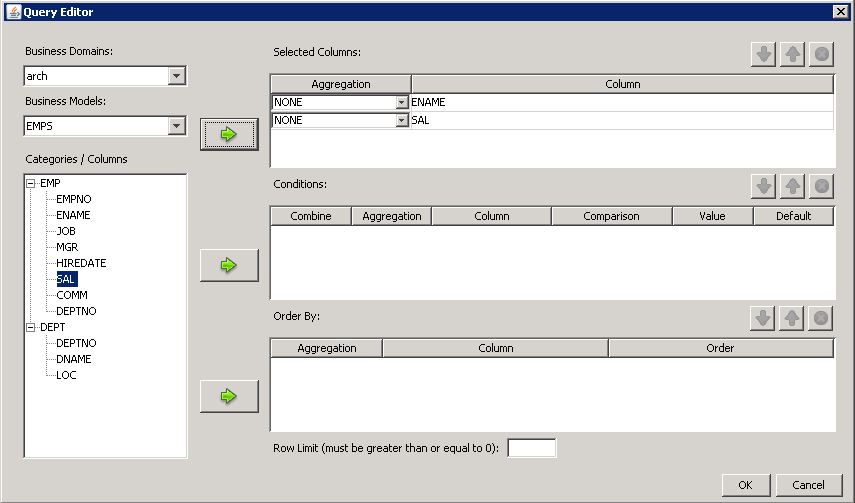
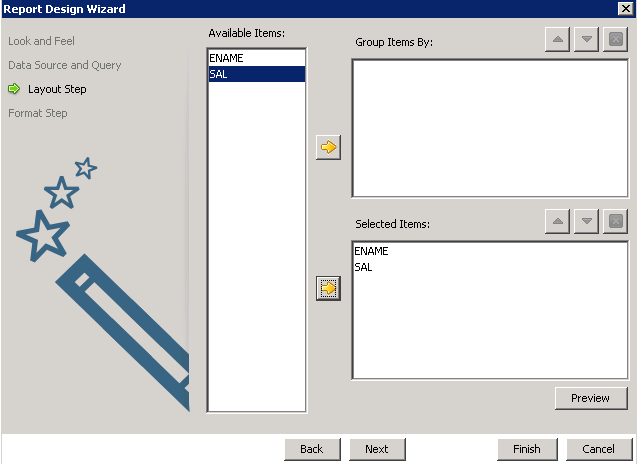
You should see the two tables from the model we created above and included in this report. Select the ENAME and SAL columns from the EMP table. We didn’t use the DEPT table, but could have if you want to extend the example.
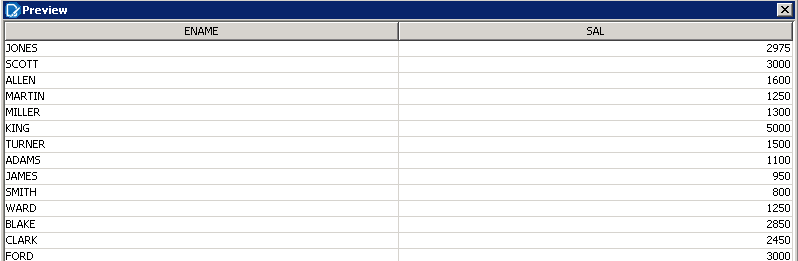
Click OK, then Preview on the previous window. Notice that we see all the records, as the row level security is not applied in preview.
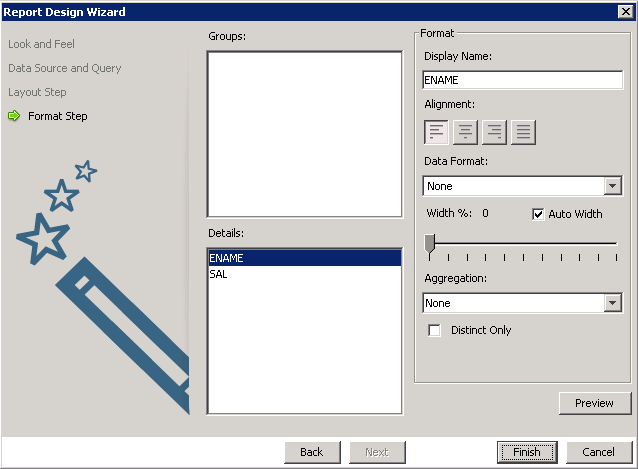
Click through the next screens to take advantage of the wizard.
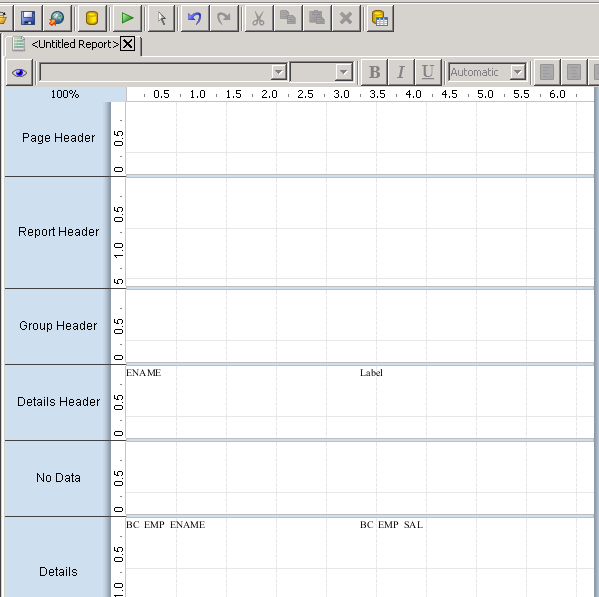
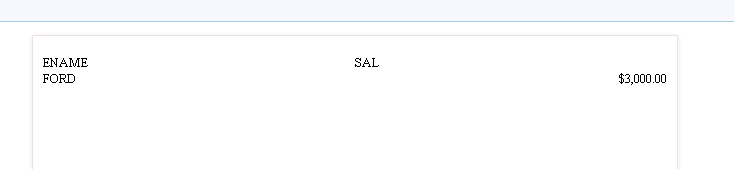
Finally, publish the report to the Pentaho Server…
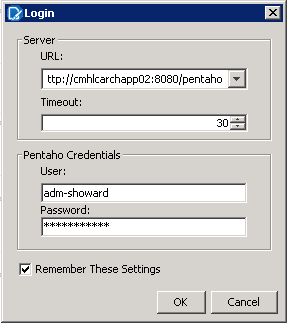
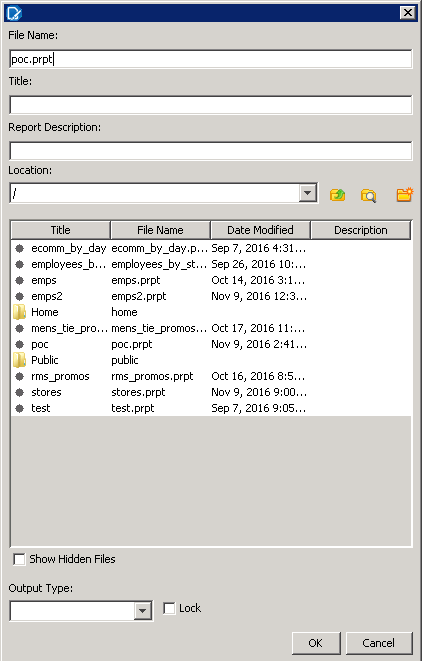
…and you should see only the data in your RLS rule, using the data from the Pentaho business model you created.